Thursday, August 29, 2013

My (un)Organized Life

No comments:

I did not inherit the organized gene.  I’m not terrible at it and my home is not usually totally filthy (um, you may disagree if you’ve been over recently), but on the other hand it is not something that comes at all easy to me.  I have to really think about it and work at it and even then it is really difficult for me to stick to routines, keep closets in order, make sure there are snacks for the kids, organize paperwork, etc.  I have always been rather absent-minded (like the time I left the back hatch of our car open while I was in the store for a good hour because I forgot to close it) and having kids kind of gives you short term memory loss.  :)  I blame the constant sound filtering my mind needs to do. 

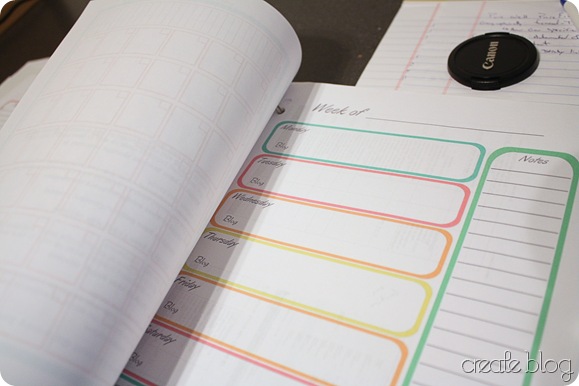
With school coming upon us very quickly, I realized if I’m going to stay afloat AT ALL I need to get myself in gear.  I was going to buy and download a printable yearly planner, but after googling around I found a number of pretty, functional, fun, and best of all free printable organizing/planner pages. 

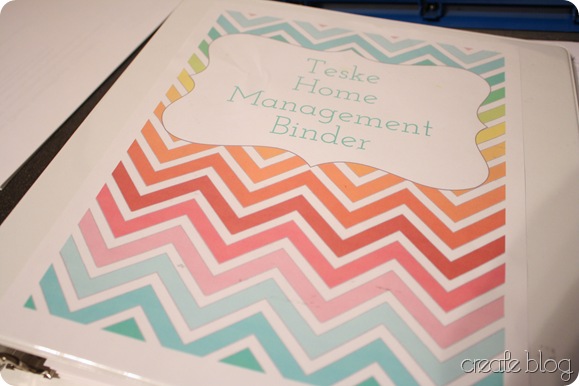
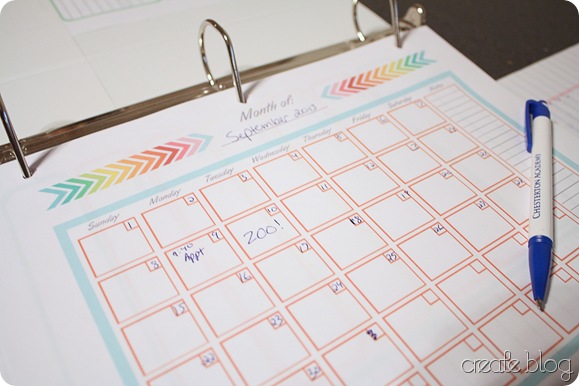
My favorite quickly became one from DIY Home Sweet Home, because if it’s pretty and colorful I’m much more likely to use it and keep with it, right?!?  Just look at the free goodness she has to offer!

I didn’t use all of these, and I tweaked some of them a little for our own personal use…but aren’t they just so happy??  Love them.  :)

IMG_6829

IMG_6822

IMG_6823  

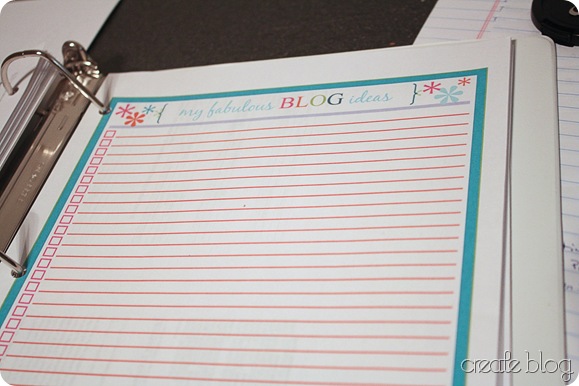
I also printed out some blog organizing pages from I Heart Organizing.   They match the color scheme of the rest of the papers and I’m hoping they will help me to stay a little more on schedule.  I’d really like to work up to consistently two posts per week so maybe this will be the ticket! 

IMG_6825

I’m starting with this next week…wish me luck!

Tuesday, August 27, 2013

Old-School Metal Desk Re-do (Tutorial and Afters)

4 comments:
I mentioned a while back that I was working on a desk I picked up at a garage sale (for $2) for our 5 year old who is going into Kindergarten this fall.  (How did that happen!!!!) 
I was almost done with it…and then disaster struck.  When I sprayed the protective clear coat on at the end, the white paint on top bubbled up and peeled away.  Lesson learned---always, always use primer on a laminate surface.  :)
However, I am done with it now!! 
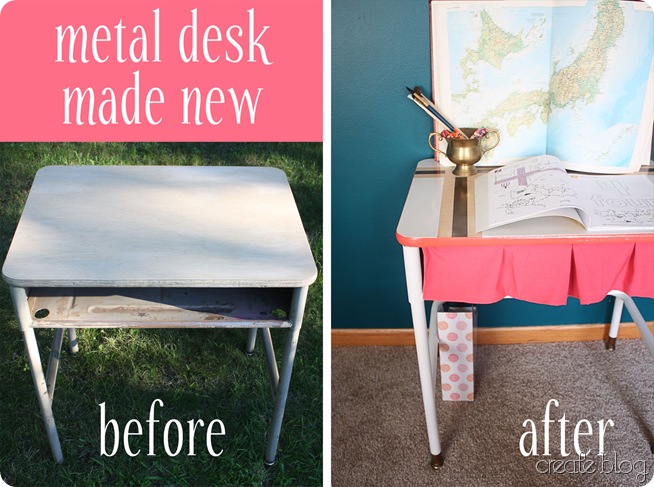
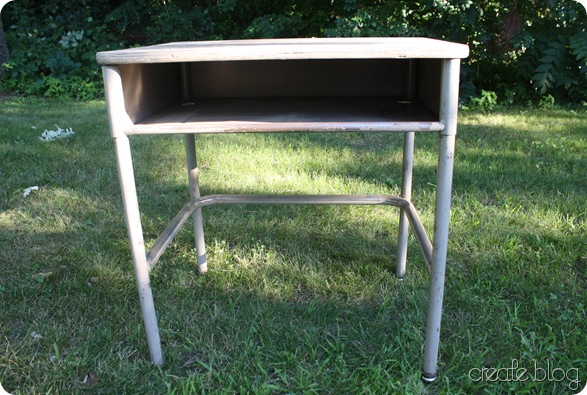
To refresh your memory, this is what I started out with:
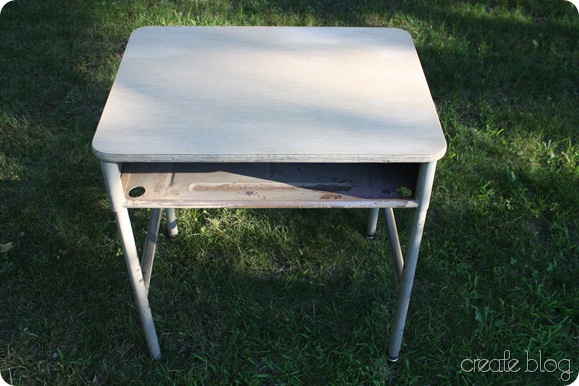
IMG_6544 It was kind of rusty, rather dirty, and was a little beat up, but it is going to be for a 5 year old who cannot for the life of her keep her room clean for more than 10 minutes…so I didn’t want to get something for her that I would freak out about if she colored all over it or scratched with her pencils. 
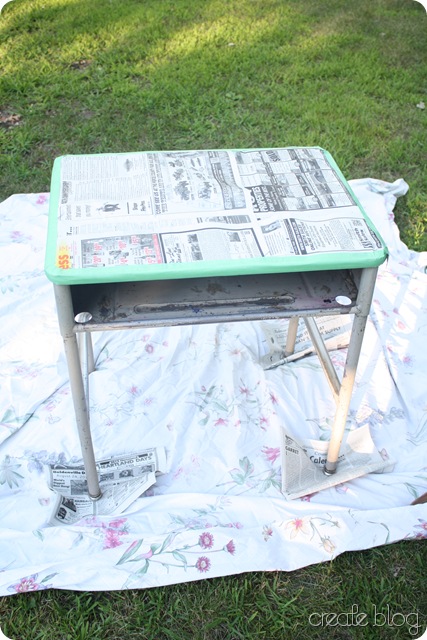
First I wiped it down with a clean rag to get all of the dust/grime off (and had to scrape away some gum and dried up glue too).  Then I taped off the top.  Now, this is where I start to go wrong.  I should have just primed the whole thing except for the blond wood stripe…but I am here to help you learn from my mistakes people!
IMG_6564
I primed the base of the desk with Rustoleum white flat spray primer, then recoated after it was dry.  Then I spray painted the base with Rustoleum white gloss paint and again recoated.  Nothing most of you haven’t already done!
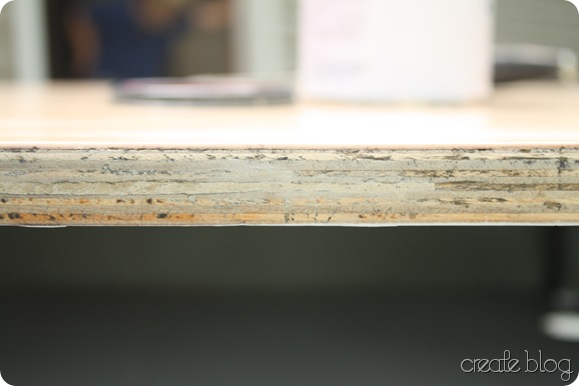
I took the tape/newspaper off the top and I noticed that the edges of the laminate top had some gouging in them so I filled them with wood filler and sanded when dry.
IMG_6638
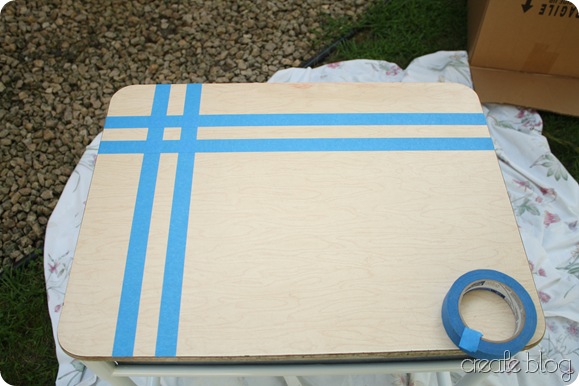
I grabbed my blue painters tape and eyeballed some lines across the desk.  I wanted some stripes but I didn’t want stripes all over the top of the desk, so this was my compromise.
IMG_6642
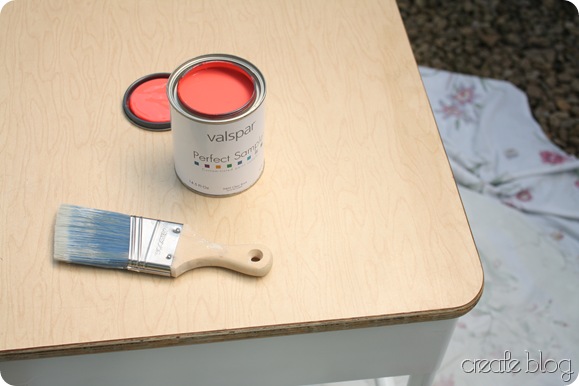
Then it was time to paint the edge.  I got a sample size can of Pomegranate Pucker (I think!  I forgot the paint chip at the paint store and they didn’t put a sticker on top!) and I just brushed it on the edge, being careful not to get any on the underside of the desk top where I had already painted it white. 
IMG_6641
The next couple of steps I don’t have any pictures of, but this is where I started to realize that I made more work for myself.  In order to paint the top white I had to re-tape the edges that I had recently painted.  I had run out of primer and I was mad at myself for not just priming the whole thing (sans stripes) white to begin with! 
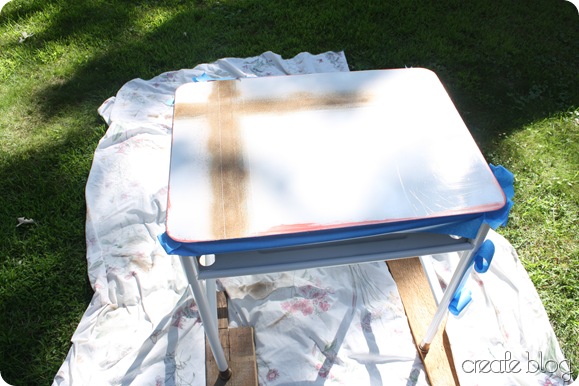
So, I spray painted the whole top white.  Then, I decided I wanted a pop of gold to be the third “color” in the palette so I grabbed a can of old metallic bronze that I had sitting around (since our wedding!) and sprayed the area between the painter’s tape on top with that.  I did a couple of coats. 
 IMG_6667
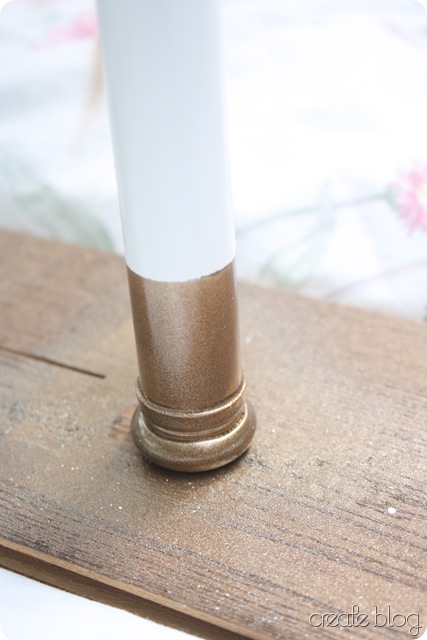
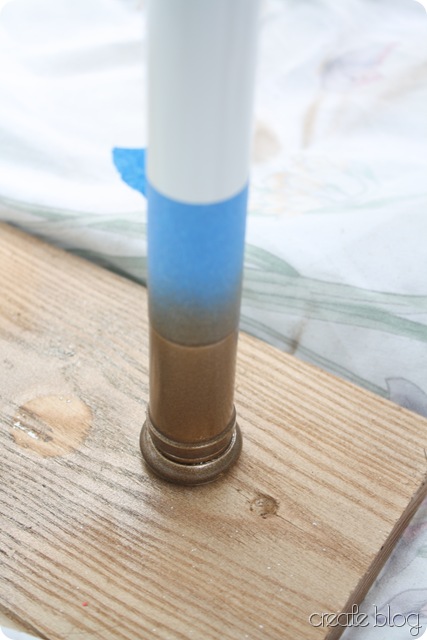
While I was at it, I decided the feet of the desk needed a little prettifying so I taped off and painted the bottom of each leg with the same metallic paint. 
IMG_6683
Looking better! 
IMG_6684
I then covered the gold stripes on top with more tape and sprayed the whole top again with white. 
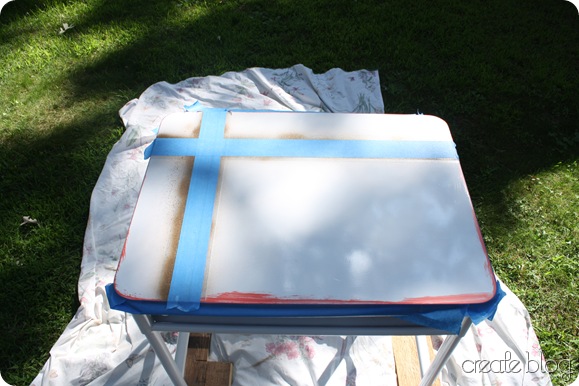
IMG_6670(I was doing this on a rather sunny day under a tree so the dappled shade makes strange shadows on the desk top!)
I couldn’t wait any longer so I went ahead and peeled off all the tape to reveal the stripes/slight plaid pattern below!
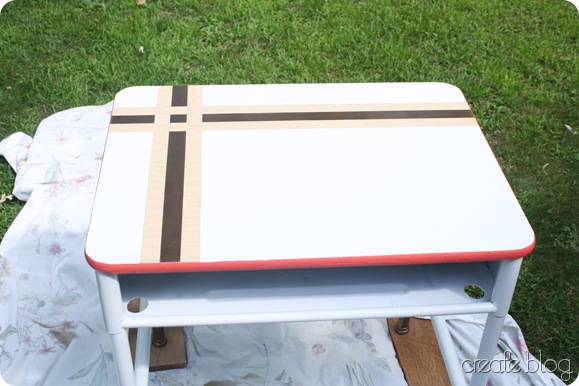
IMG_6688
Much better, don’t you think? 
And this is where I messed up bigtime.  I sprayed the clear-coat on top and the white paint bubbled up in the lower right corner of the desk.  I was so frustrated, I took a break from it for about a week.  Finally I got some more spray paint (I got Rustoleum paint+primer this time!) and sanded and re-taped it and re-sprayed it.  Lots of lessons learned in this re-do!  Finally I put another coat of clear polycrylic on it and this time it worked great!  I really like how the natural “wood” of the desk top shows through in a couple of the stripes and the metallic adds a little drama to it. 
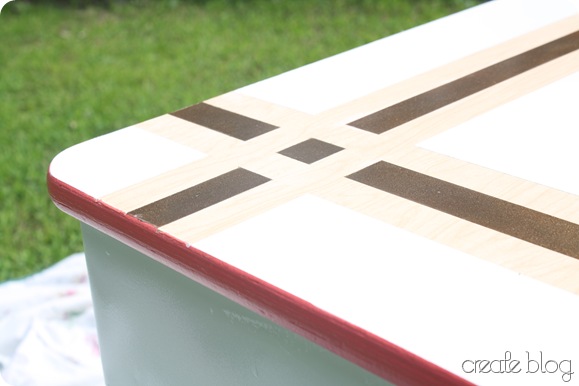
IMG_6692
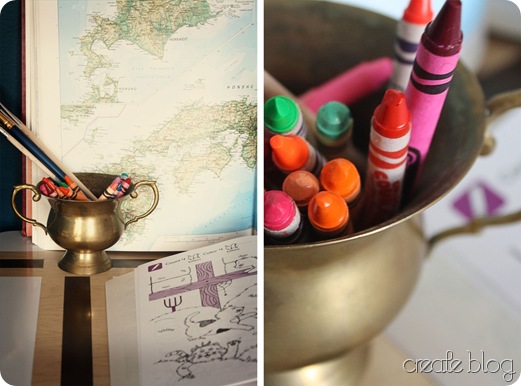
The metallic paint has a shimmer to it that is really hard to capture in the photos.    This photo probably shows it best:
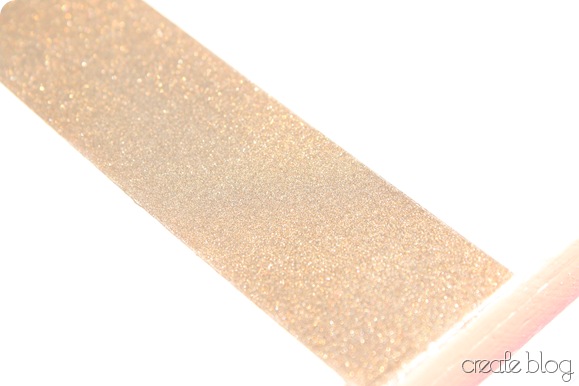
IMG_6693
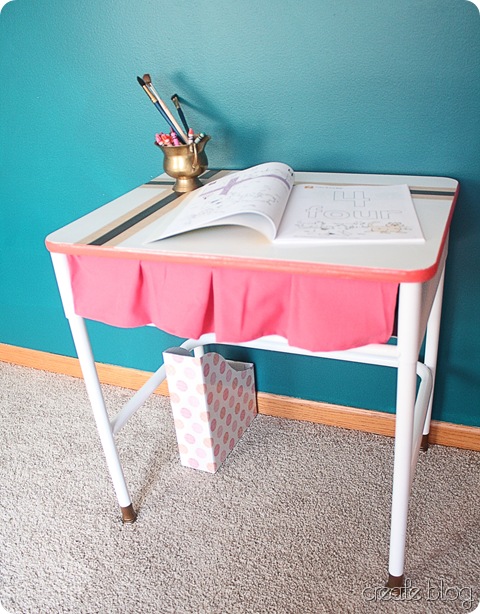
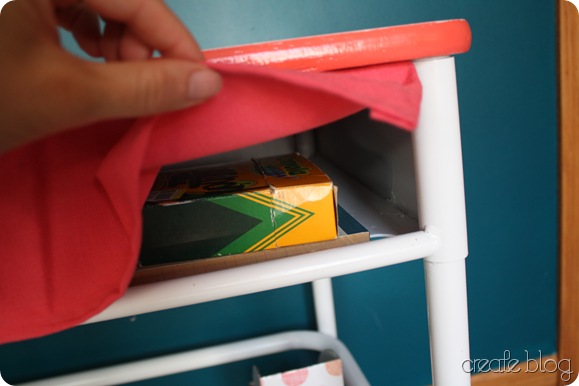
I decided the desk needed something to hide the tantalizing crayons/paper/art projects inside from curious younger brothers, so I found a piece of fabric in my stash that was a similar coral color and I cut it to a size that would fit in the opening, then hot glued the edges under 3 sides (2 short and 1 long). 
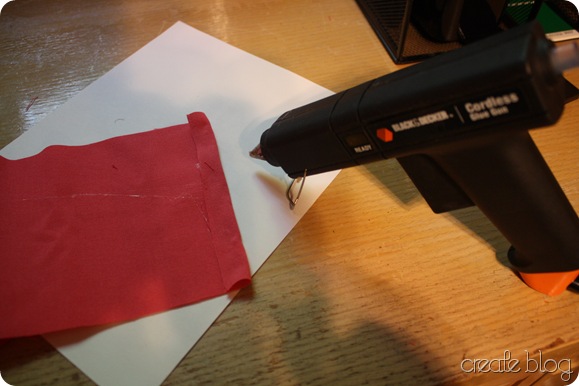
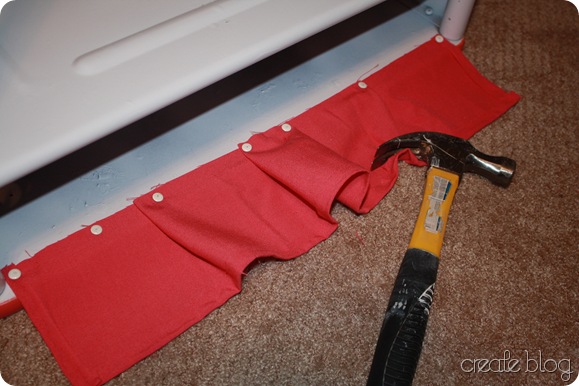
IMG_6757 I wanted a little pleat in the center so I pinned that, flipped the whole desk over, and hammered push-pins in to secure the fabric flap to the bottom of the desk top.  I was originally going to staple it but I couldn’t fit the stapler in that small of a space. 
IMG_6764
I still need to find a chair for it (I’ve been scouring garage sales and thrift stores but so far nothing) but I’m calling this project done!
Here it is in her room, ready for schoolwork, homework or art projects or whatever creative thing she might think up!  (Which might be coloring directly on it…who knows!)
IMG_6791_1edit
Shhhh…don’t tell the toddler what’s hiding inside!
IMG_6774
I’m getting a little nostalgic here now…
deskdyptich
All done!! 
deskba
  Now on to the next project…have I shown you the tufted chair I picked up at the thrift store???  ; )

Linking up at The DIY'ers, and  Not Just a Housewife

Wednesday, August 21, 2013

How to Make Jadeite! (the faux way)
4 comments:
Fauxjadeitebanner
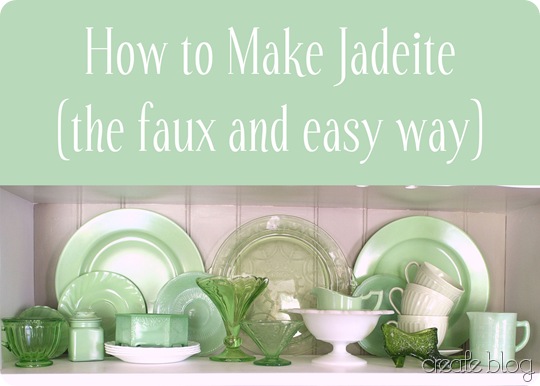
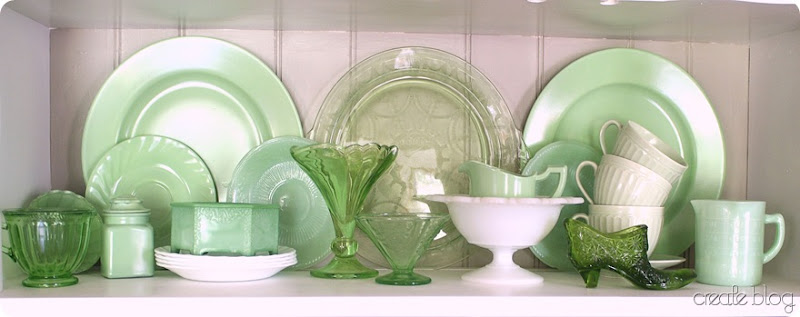
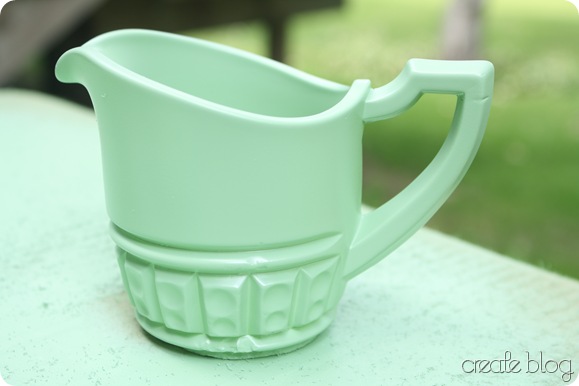
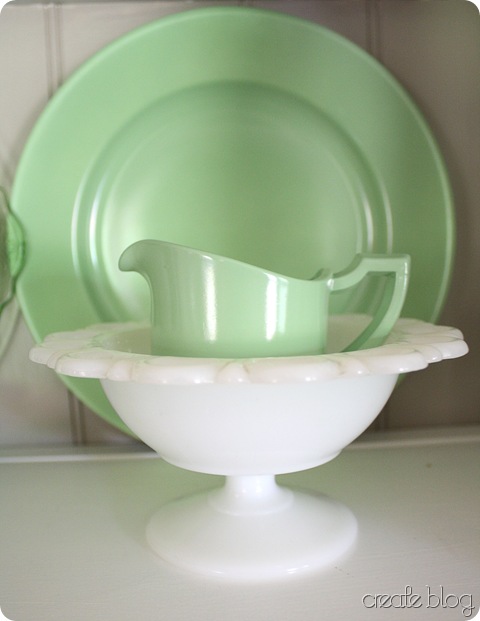
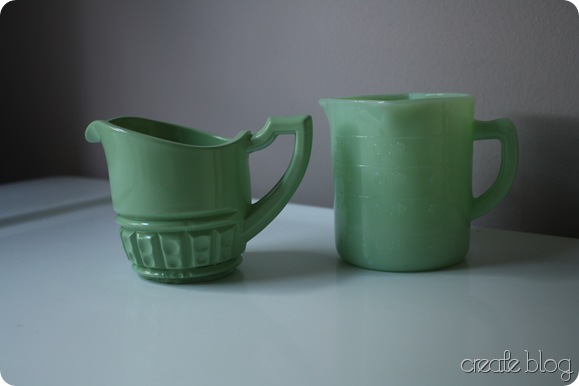
Want to have a jadeite collection like this one below but don’t have the money to buy expensive real jadeite pieces?


Me too.  Here’s how!
The other day as I was walking through the aisles of my local Walmart (and looking for spray paint, of course) I noticed a can of spray paint that looked strikingly like the color of jadeite.  The wheels in my brain started turning and before long that can of spray paint was in my cart and I was excited to try my idea out. 
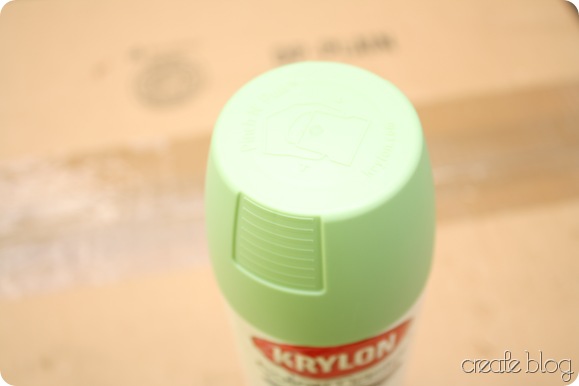
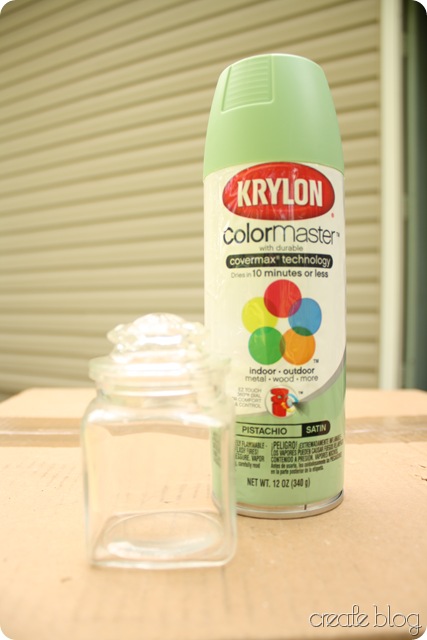
This is the spray paint:
Krylon ColorMaster in Pistachio (mine was satin, glossy would be better)
IMG_6624
IMG_6622
My tester piece is sitting next to it.  I wanted to try it out on something that didn’t really matter if it got destroyed (and something that was free/cheap). 
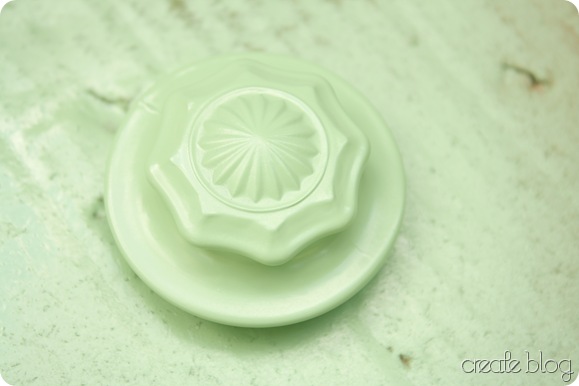
Here it is after one coat:
IMG_6627
IMG_6629
I was pretty excited to see that the color was very similar to a real jadeite piece I have:
IMG_6635
Of course, it doesn’t have that translucent milky quality of real jadeite, but if you’d like a display on shelves like the first picture it would hardly be noticeable.  Like I have here: 
jadeitehutch
I decided that the finish was a little too “flat” for my tastes, so I sprayed on some polycrylic clear coat to make it more glossy.  If you can find the Pistachio color in glossy it would probably eliminate the need for a clear coat on top. 
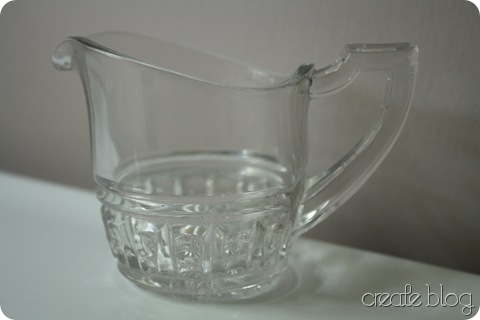
I wanted to experiment a bit more with this so I got a few more things from the thrift store. 
IMG_6677 IMG_6678 IMG_6676
I chose these items because they have very simple lines (most real jadeite isn’t heavily ornamented and has clean lines) and would allow me to try out other ways of doing this.  I sprayed just the outside on the top piece and left the inside of the bowl unpainted and it gave it more of a glassy look, but this wouldn’t work for any items that have handles or are not clear glass. 
I also wanted to see how the paint would look over something that was not clear glass.  White glass doesn’t allow much light to shine through but the color is still close enough to the real jadeite that it is fine. 
Here is the finished beaker from above:
IMG_6697
The lighting in this picture is terrible but you can get a general idea of how it looks next to real jadeite (on the right):
IMG_6700
Again, not quite as good as real but a looot more affordable!  
jadeite1
In simple steps, here is what I did:
1.  Find glass pieces that most resemble real jadeite pieces (it never hurts to gaze at beautiful displays of jadeite for inspiration!)  Look for clean lines, interesting handles, chunky glassware, and unusual shapes.  Avoid plates with etched Christmas scenes and very ruffly vases.  :)
2. Make sure they are clean, then spray one or two light coats of Krylon Pistachio on every side, inside and out.
3.  If you are using satin paint like I was, wait a few minutes and spray on a clear coat of polycrylic (I used Rustoleum brand’s)
4.  Let dry, arrange (perhaps with real jadeite to fill out your collection), and live it up like Martha! 

(Be aware that any china or glassware painted like this is no longer food-safe…use your real jadeite for that! ) 

Monday, August 12, 2013

My Best-laid Weekend Plans…

No comments:

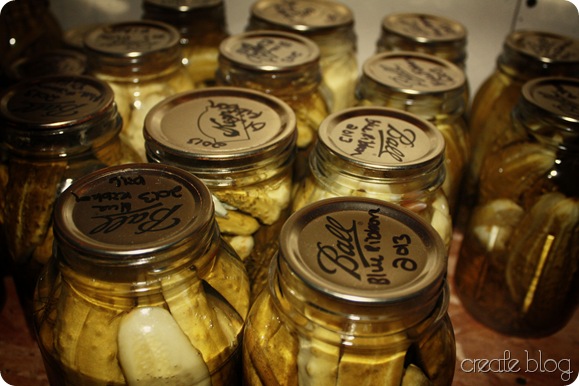
got derailed.  I was planning to work on the desk this weekend, but instead this is what I was doing:

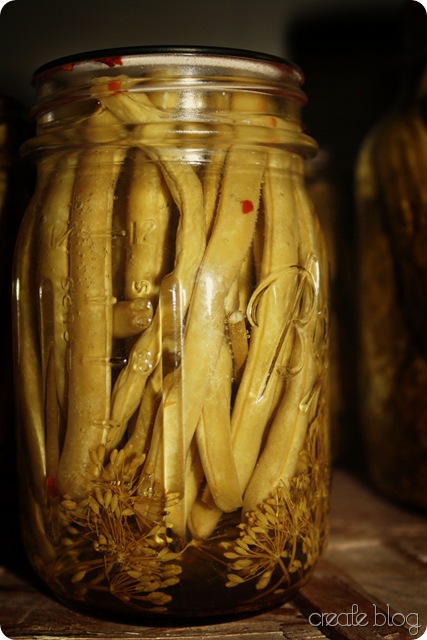
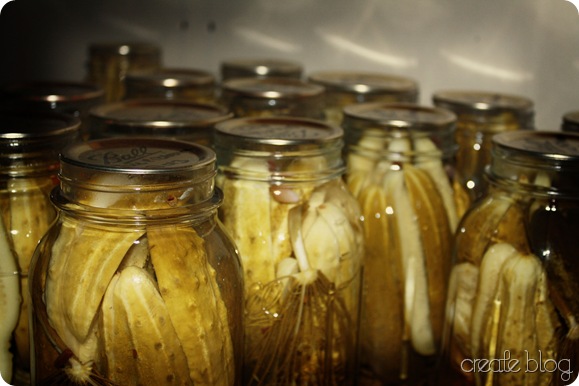
beans1  pickles1

 pickles2

We’re getting a bumper crop of beans and cucumbers from our garden, so lots of pickling and freezing went on around here.   And now I’m working on this:

 peaches

I’m thinking peach preserves?  I already made peach cobbler tonight…yum!!  I heart summer!

And now, back to work on the desk…maybe.  Or, back upstairs to eat another delicious peach :)

Thursday, August 8, 2013

School days…

2 comments:

School is fast approaching…and I have a kindergartener this year!!  Wow, where did the time go?  Seems like my oldest was a baby just yesterday…(sobs into keyboard)…

So, she needed a desk to do her schoolwork at.  I found one at a garage sale a few weeks ago.  Here it is in all its (un) glory:

IMG_6547

Just a basic, plain Jane metal desk from days gone by.

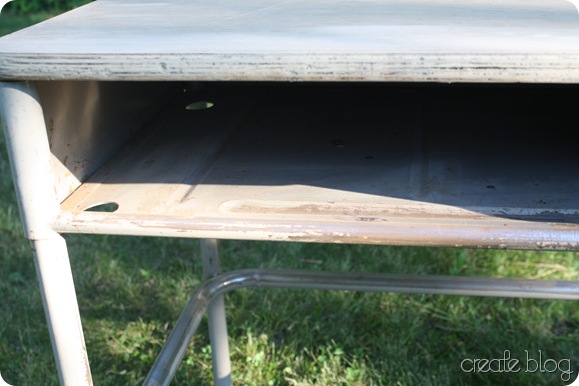
IMG_6548 

These pictures do not do it justice.  It has ancient glue spilled all over the inside, rust on the legs and lots of scratches on the top.  And yep, a little brittle gum on the bottom :)

I’m working on it right now so I hope to have pictures and a tutorial coming up this weekend or early next week if I’m unlucky. 

Thursday, August 1, 2013

Guest Post at Remodelaholic!

No comments:

kitchenflower

I’m super excited to be guest posting over at Remodelaholic today!  The talented Justin and Cassity are featuring our white kitchen remodel (from our previous home) today over there…hop on over and read the feature (I’m talking more about our thrifted cabinets) and then gawk at all the amazing projects they have done in their multiple homes so far.  Wow, that is dedication for sure!

Thanks to Remodelaholic for inviting me over!